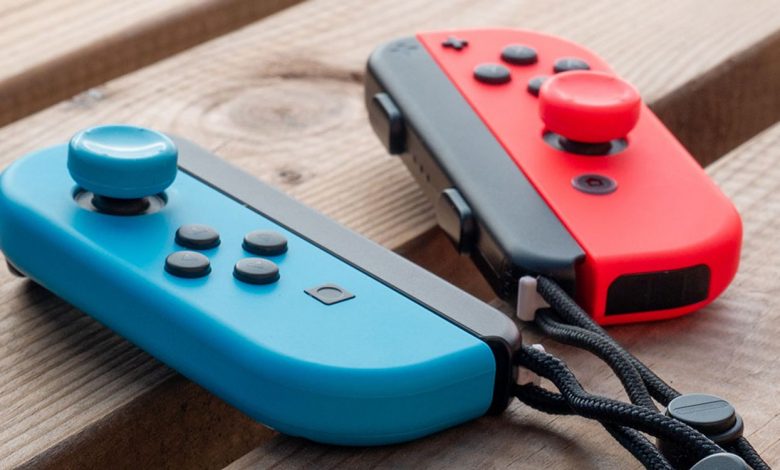
Joy Con drift has plagued Nintendo Switch owners since the console’s release, creating the illusion of a phantom thumb tugging on the control stick even when you aren’t touching it.
Several years on, there’s no permanent solution. But there are a handful of troubleshooting tips you can use to fix Joy Con drift yourself.
What Is Joy Con Drift?
Joy Con drift is a problem where a Nintendo Switch Joy Con controller acts like something moves the control stick even when nothing is. This can mean that the camera, cursor, or video game characters on your Switch continue to move even when you remove your hand from the controller.
This problem is worryingly widespread. It also worsens over time, possibly due to wear and tear or dust building inside the controller. Ultimately, though, it’s caused by a flawed design.
Try the troubleshooting steps below how to fix joy con drift if you’re having trouble with Joy Con drift on your controller. Although these steps have helped many people, the only long-term solution to Joy Con drift is to get a repair or replacement from Nintendo.
Visit Nintendo’s Joy Con repair page to start setting up a repair immediately. Otherwise, here are all fixes you can try yourself.
1. Reset Any Button Mapping
On your Switch, you can change the functions of the various buttons to make the controllers more accessible.
You can also use button mapping to change the orientation of your control stick.
Return to the Home screen and look in the bottom-left corner for a Switch or Joy Con icon with a wrench to see if button mapping is enabled on your Switch.
If you see it, go to System Settings > Controllers and Sensors > Change Button Mapping and tap Reset for each Joy Cons to return them to the default button mapping.
2. Check Your Controllers Are Connected Correctly
According to Nintendo’s Joy Con support page, you should double-check that your Joy Con controllers communicate properly with the Switch system.
Go to the Home screen and select the Controllers option.
The image on the left side of the screen displays all of the controllers currently paired with the Switch and whether they are registered as attached or detached from the Switch.
Check that this corresponds to reality, and move your Joy Cons around on the console to see if the image updates.
If your Joy Cons aren’t registering properly, go to Change Grip/Order and press the minus (–) or plus (+) button. Then, again, follow the onscreen instructions to pair your Joy Cons.
3. Update Your Switch System
Although most Joy Con drift issues are hardware-related, there’s a chance yours is software-related, so an update should fix it. Updating the operating system is an excellent way to resolve any Nintendo Switch issues caused by software bugs.
First, joy con drift repair ensure that your Switch is connected to Wi-Fi. Then go to the Home screen, select System Settings > System, and tap System Updates. Your Switch will check for new updates, downloading and installing any available.
4. Update Your Joy-Con Firmware
You must also update the Joy Con firmware and the Switch’s operating system. It is critical to first update the Switch system because you may require the most recent operating system to use the most recent Joy Con firmware.
After you’ve updated your Switch system, navigate to Home > System Settings > Controllers and Sensors and press the Update Controllers button. Each controller on your Switch will be updated one at a time.
Wait for all updates to complete before testing your Joy Cons again.
5. Recalibrate Your Control Sticks
It’s possible that your Joy Con control sticks are pulling to one side due to incorrect calibration. This implies that the control stick sensors have lost sight of what a central control stick looks like. This is simple to resolve by recalibrating your control sticks in the Switch settings.
Select System Settings > Controllers and Sensors, then scroll down to Calibrate Control Sticks on the Home page. To recalibrate your control stick, follow the onscreen instructions. You want the cross icon to appear in the center of the circle.
You can also press Y to return your control stick to its default settings, but this will only work if nothing is physically wrong.
6. Check for Game Software Updates
If your Joy Cons always drift while you play the same few games, there might be a problem with those particular games. Highlight the relevant game on your Nintendo Switch Home screen, then press the plus (+) button and select Software Update > Via the Internet to check for updates.
Also, look at the game details online to determine if it uses tilt controls. It’s possible that your Joy Cons are working normally, but they keep pulling to the side because you’re tilting them without realizing that it makes a difference. This is especially prevalent in Mario Kart 8 Deluxe and Breath of the Wild.
7. Remove Any Skins or Covers
You might have chosen to customize your Nintendo Switch with skins, covers, cases, and other accessories.
While these are great ways to add extra personality to your Switch, the adornments can sometimes interfere with your Joy Cons working perfectly.
Remove any skins, stickers, or covers from your Joy-Con controllers to see if this has any effect, especially if they wrap around the front of the controller near the control sticks.
8. Clean the Joy Con Control Sticks
Often, Joy Con drift is caused by dust and grime accumulating inside the control stick mechanism.
If you don’t want to disassemble your Joy Con—voiding the warranty in the process—you can still clean this dirt away to fix your Joy Con.
To do this correctly, you will need the following:
- Tweezers with a fine tip
- Compressed air
- Contact cleaner, sometimes coincidentally called switch cleaner
Pull the control stick to one side to clean your Joy-Con, then use the tweezers to lift the thin cover, revealing the mechanism. Blast it with compressed air to get rid of any dirt or grit. Rep from different angles around the control stick.
If that doesn’t work, insert a small amount of contact cleaner into the mechanism and rotate the control stick to work it in. Apply very little liquid and use only contact cleaner, widely available in hardware stores.
Any other fluids like a lubricant, oil, water, or alcohol can break your Joy Con.
9. Send Your Joy-Con to Nintendo
If nothing else has worked and your Joy Con is still drifting, it’s time to look at sending it off to Nintendo for a physical repair. You’ll be without your controller for a few weeks, but it’ll be worth it.
If your Switch is still under warranty, Nintendo should repair it free of charge. However, because Joy Con drift is so common, Nintendo may repair the issue for free even if you are outside the warranty period.
Go to Nintendo’s Joy Con repair page and follow the instructions to send your Joy Con away for repair.
Only the affected Joy Con should be sent, not the Switch console or other accessories.If all else fails, try a do-it-yourself fix.
Failing All Else, Try a DIY Fix
Sometimes you can’t send your Joy Con away for repair because Nintendo’s repair service isn’t available in your country or because you’ve already disassembled the Joy Con, voiding your warranty. Even if this is the case, you are not without options.
There are numerous DIY Joy Con drift fixes available online. These include everything from completely disassembling your controller and replacing components to slipping a piece of paper under the control stick.
If Nintendo refuses to accept your Joy Con and none of our other solutions have worked, you might as well try to fix it yourself because you don’t have much else to lose.